Aeration
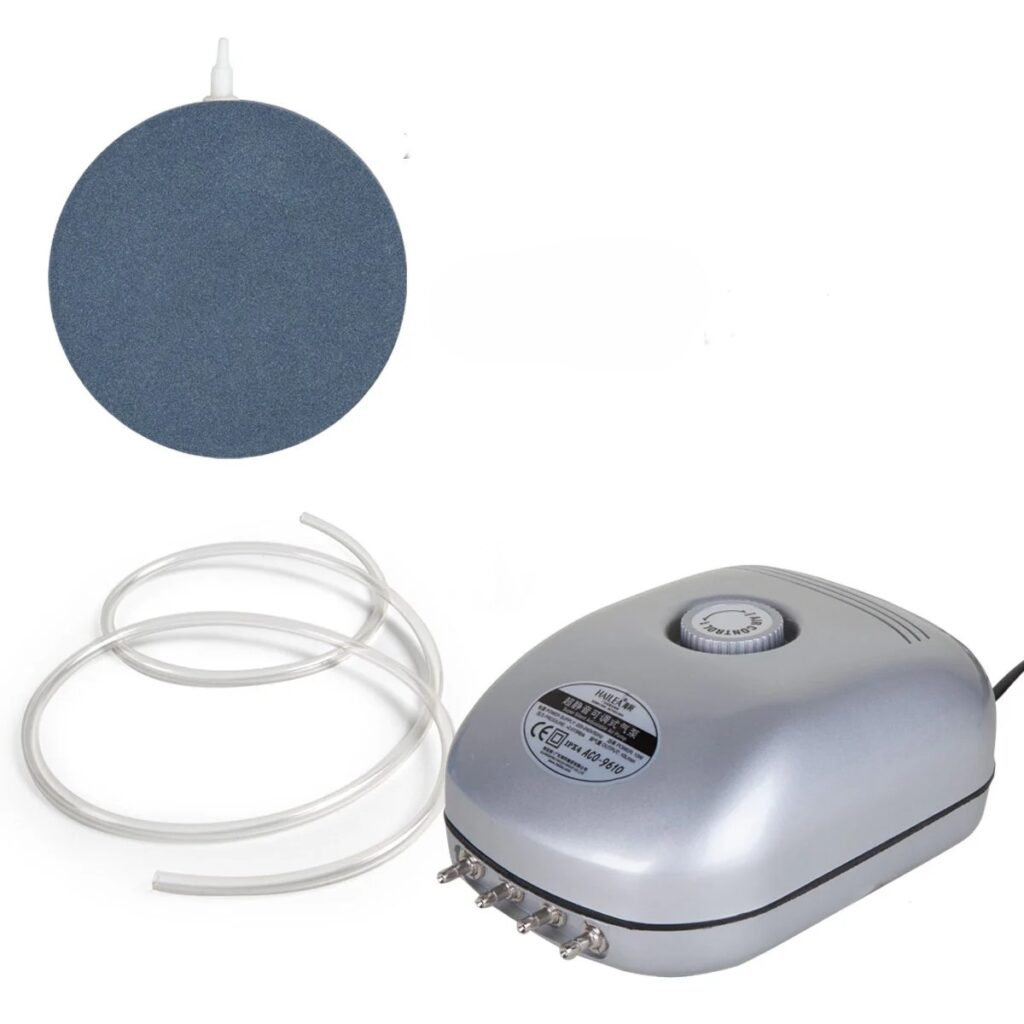
One way of increasing the longevity of your nutrient solution and making sure your plant roots are getting enough oxygen is by installing a simple air stone. An air pump, flexible hose and air stone can be easily purchased from retailers who supply aquarium equipment. For simplicity, you can cut an additional grove in your polystyrene or plastic raft, to allow space for air tubing to go into the system. Using an air stone allows for better diffusion of air and has the benefit of sinking the air supply to the bottom of the tank!
Something like this is perfect.

You can even find solar powered air pumps online!
WARNING:
- Please be careful when mixing electrical appliances and water, never handle appliances that have been exposed to water, or with wet hands!
- Always situate your air pump above the highest water level in your system so that water/nutrients don’t fill the pump, should it stop functioning. This is in case the pump stops, water/nutrients will find their way downhill to the pump if it is below the water level.

Plant Spacing
Another thing you can have a play around with is the distance between your plants. Having them closer together can get more plants in, but may affect how well each plant grows. Having them spaced further apart can allow extra light to reach the leaves and boost the growth of individual plants but with less of them.
You can change the spacing by creating multiple floating rafts that have holes at different distances between each other. The shapes the holes create on the raft can lead to space being used more efficiently too. Offsetting every other row to form triangles rather than squares can help to pack more plants into the same area.
For lettuce and pak choi, commercial growers use spacing between rows and columns of around 10-15 cm
For larger plants like kale you need larger spacing, up to around 30cm
You can experiment with different spacings to find what works best for the specific varieties you’re growing with the amount of heat and lighting they are receiving.
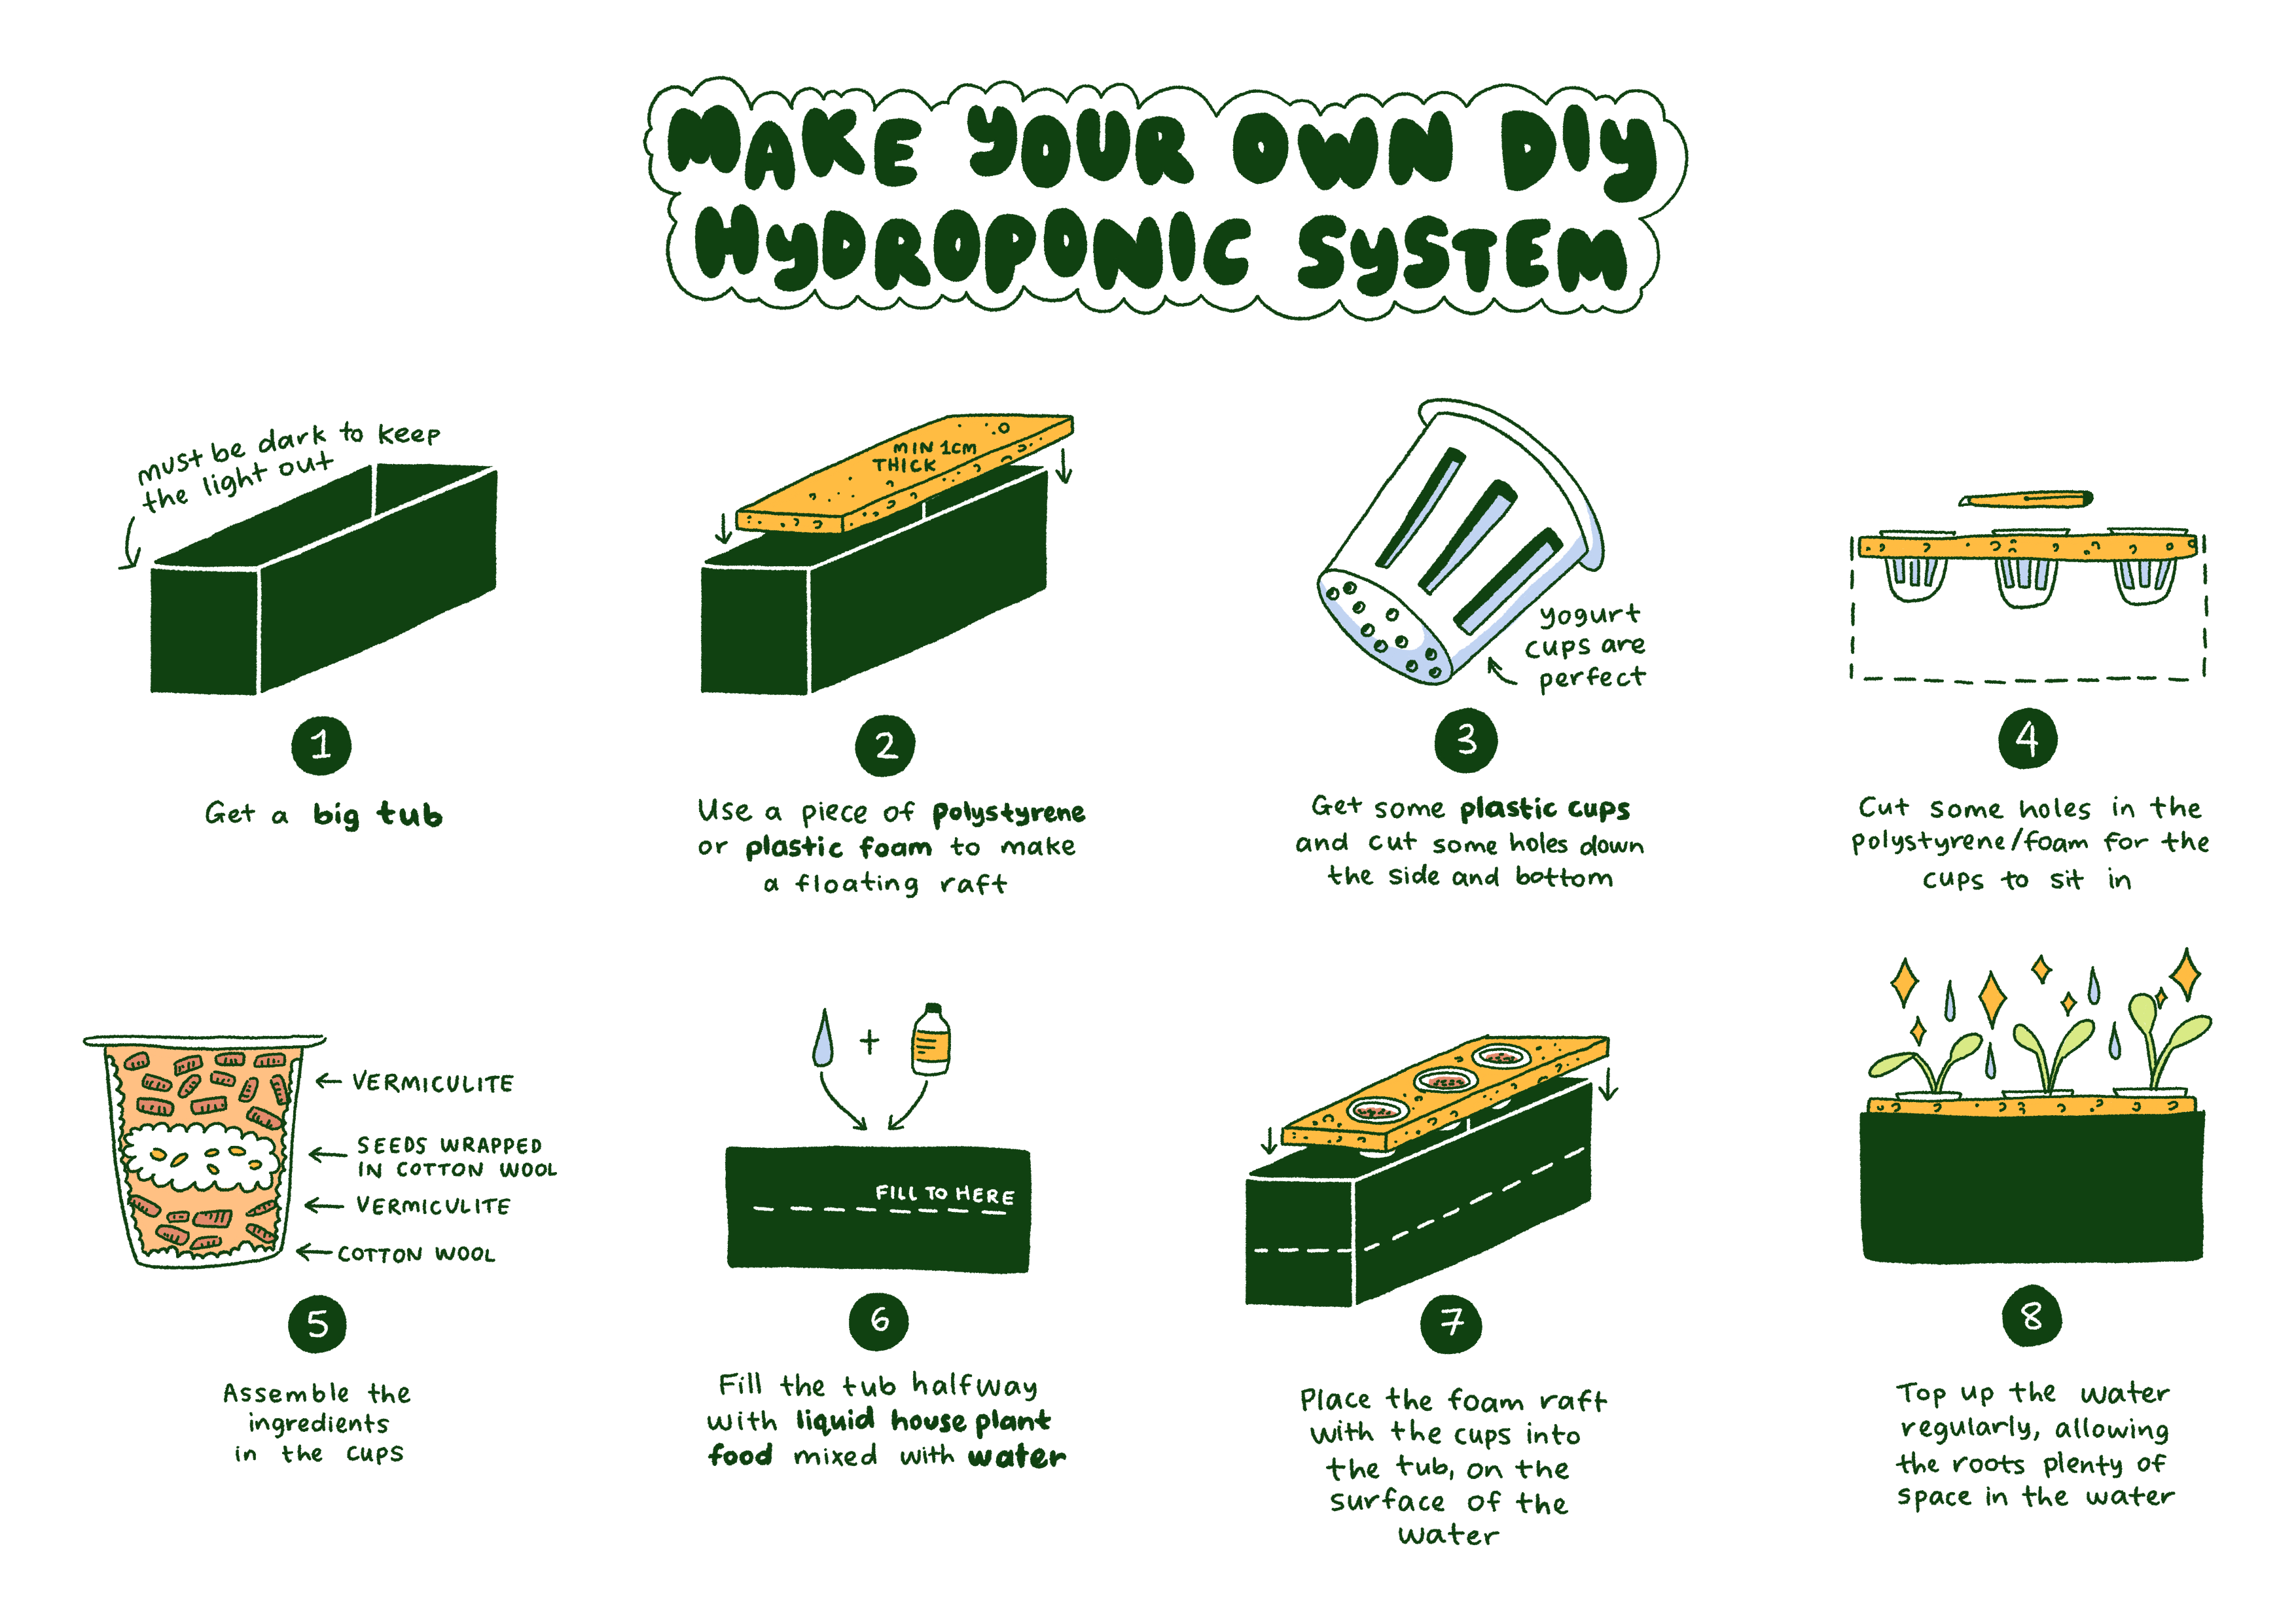
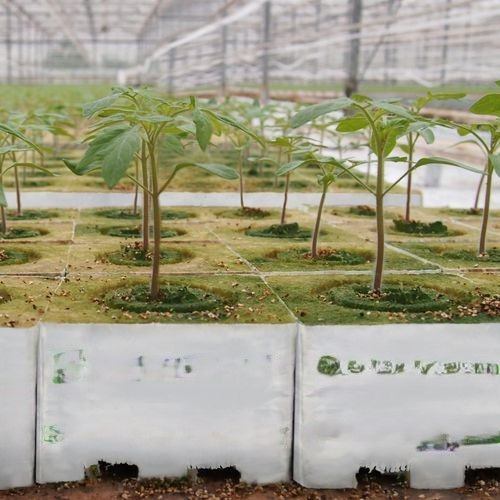
Other substrate options
There are plenty of other materials which can be used as a plant substrate, the greatest challenge is finding material which will support your plants and will not fall apart/disperse into your nutrient solution. In our handy DIY hydroponics instructions we recommend vermiculite, however mineral wool, coco coir, perlite, expanded clay pebbles and many other options are out there.
Mineral wool
This is a material very similar to household insulation, HOWEVER IT IS NOT THE SAME. Insulation products contain fire retardants and other chemicals which are not good for you or your plants. Mineral wool for growing can easily be found online at major retail outlets, some well known brands are Rockwool, Grodan and Cultilene. We recommend wearing gloves, eye protection, and covering up any skin when handling mineral wool. If you need to cut it, please do so outdoors and away from other people as mineral wool releases irritating fibres and particles.
Pros: Lightweight, highly absorbent, fairly stable (i.e, doesn’t fall apart easily), sterile and inert (does not add or remove nutrients)
Cons: Irritant (makes skin itchy on contact and potentially harmful if inhaled), requires huge amounts of energy to manufacture, hard to reuse (you should sterilise mineral wool between uses), not biodegradable.

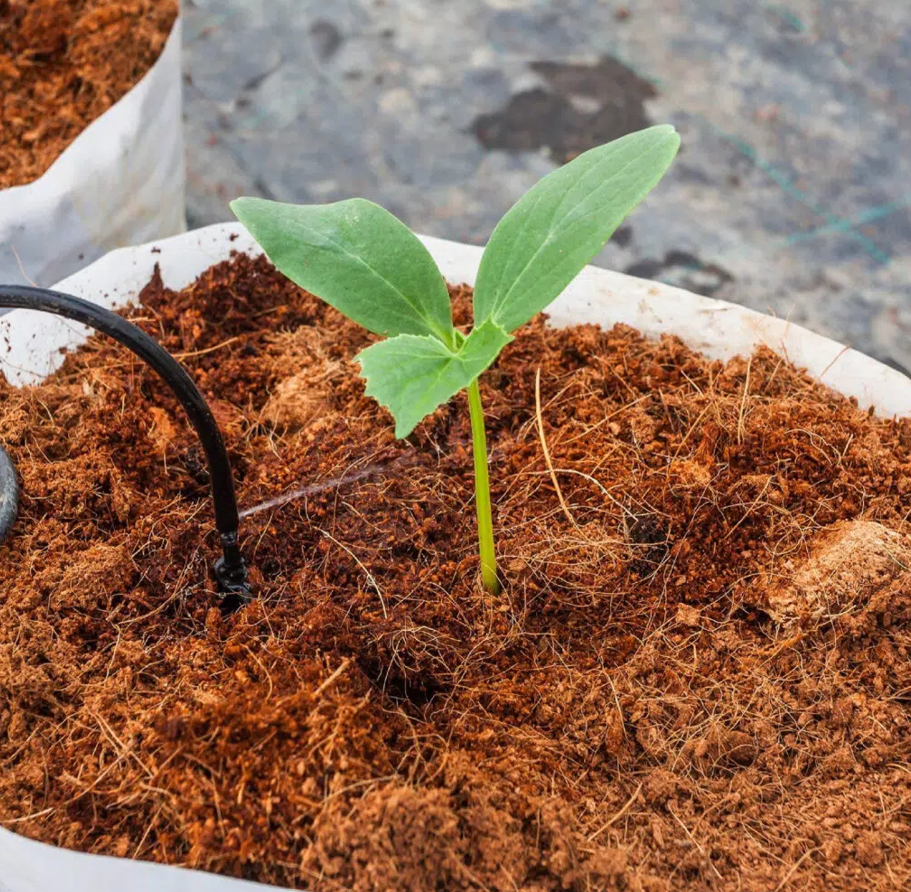
Coco coir
This is a natural fibrous product made from the husks of coconuts, and again easily purchased via major online retailers.
Pros: Lightweight, natural, fairly absorbent, biodegradable
Cons:Not easily reusable, sometimes coco coir is quite dusty (which means it may fall through pots into your tank), mostly sourced from south and east asia, requires large amounts of water in the manufacturing process, some sources have poor work and humanitarian conditions, because this is a natural product it’s more susceptible to pests and disease.
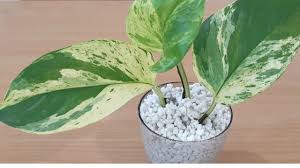

Perlite
If you take volcanic glass (obsidian) and expose it to temperatures over 1000C, you get perlite! This product tends to come in different size grades, so be careful when buying it, as you don’t want it too small!
Pros:Inorganic (meaning it won’t be susceptible to pests and disease and won’t break down), fairly lightweight, contains minerals good for plant growth (iron, calcium and sodium), easily reused.
Cons:Highly energy intensive to manufacture, as it’s not inert it could have detrimental effects on your plants (for example, releasing too much sodium), sometimes dusty (it is recommended you wet perlite before handling to avoid inhalation of dust).
Expanded Clay (or LECA – Lightweight Expanded Clay Aggregate)
Rock pop corn! Similar to Perlite, expanded clay pebbles are made using extreme heat, however it can be made using waste products such as bricks, or clay (unsuitable for growing in). This product is very easy to reuse and can be included in other hydroponic systems such as aquaponics (using water from fish tanks to provide nutrients rather than nutrient solution).
Pros:Inert, lightweight, very easily reused, very stable.
Cons:Energy intensive to manufacture, can be expensive, may create dust (we recommend wetting before use), not biodegradable.

More detail on your nutrient solution
In our guide we suggest using diluted liquid plant food, as this is really easy to find in shops. If you have the chance, we recommend sourcing nutrient solutions, which you can find online or in hydroponic suppliers. This is a purpose-made product and far more beneficial for your plants if used in your system. The solutions normally come in two parts (e.g. A and B) which are added together when making up your nutrient solution. The solution is split in two parts to reduce the chance of minerals in the product precipitating out (opposite of dissolving) and dropping to the bottom of the bottle.
It’s important to note that most nutrient solutions are specific to your water type, so keep an eye out for hard and soft water options and pick the one that matches your local water. If you’re not sure if your water is hard or soft, an easy way to tell is if you have limescale build up in your kettle – if you do, your water is hard!
One last note about nutrient solutions: these are generally made from mined minerals, including phosphorus (a very limited global mineral resource!), if you can find and afford organic equivalents (sometimes made from seaweed), we recommend using those instead.
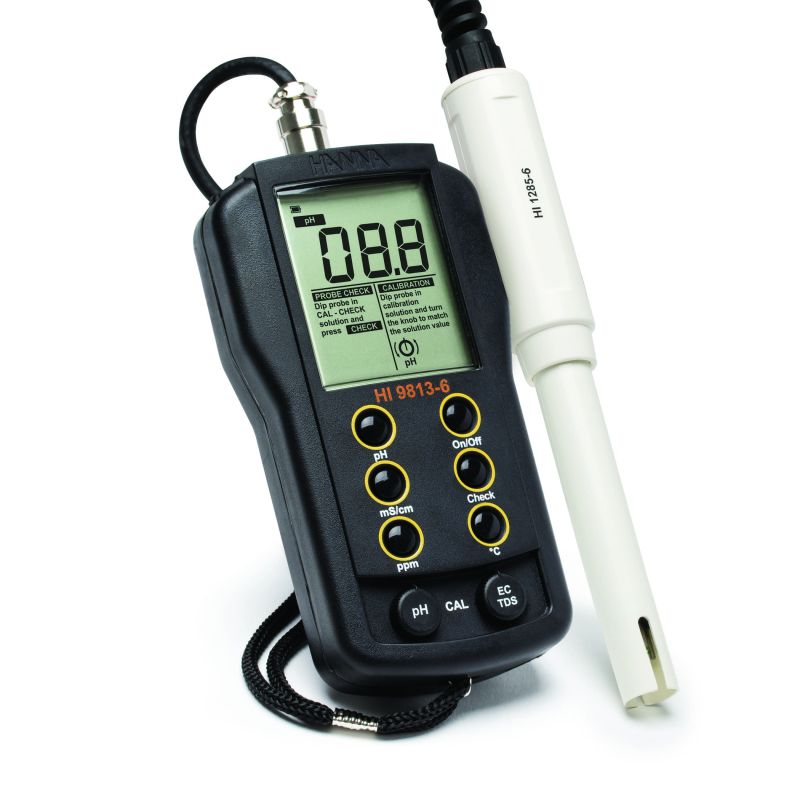
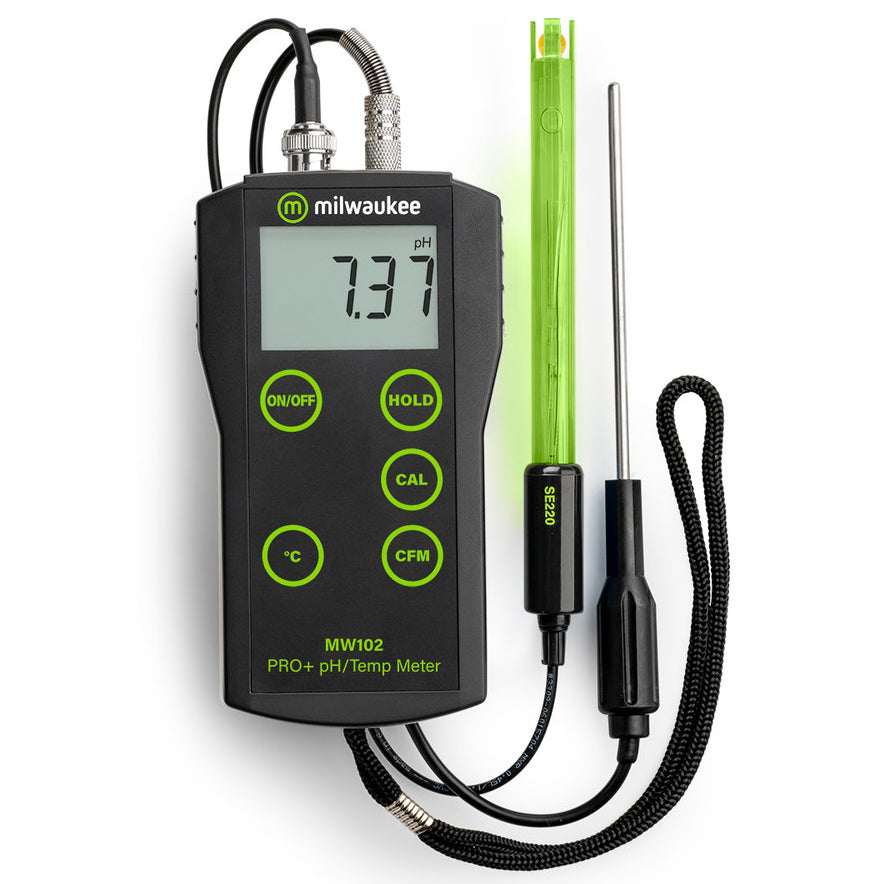
pH and EC metres
If you are feeling scientific, pH and EC metres are a good tool to have, and they can be found very easily online and are usually integrated together.
pH is the scale of alkalinity, going from 1 (very acidic) to 14 (very basic). Most plants prefer pH 6.0-7.0. Tap water tends to be about pH 7.0 while commercial nutrient solutions are usually about 6.5. If you notice your pH starting to drift up or down, you might dispose of your nutrient solution and start again, or you can buy pH amendments which can be added to the system. These are found in the same stores as the nutrient solution, and usually referred to as pH Up or pH Down. It is important to remember that temperature can affect the pH reading on your metre, so try to take measurements with metres that have integrated thermometers, as these are more likely to have a temperature calibration, or use a calibration chart.
EC stands for Electroconductivity, this measure is used to approximate the nutrient content of your solution. Unfortunately, EC is affected by all negatively and positively charged molecules in nutrient solution, and so it cannot specifically tell you what nutrient you have a surplus or shortfall of. In practice it is used to tell you if you need more nutrients (too low) or that you need to change your solution (too high). EC targets are dependent on the crop, generally the target for leafy greens is 1.2-1.5uS/cm and in fruiting crops like tomato and pepper 1.8-2.0uS/cm.